

You Don’t Need to Be at Your Desk to Run Python
Two automation tools to handle your data workflows in the background


As an Analyst or Data Scientist, there are day-to-day tasks that always need to be repeated: data extraction, data processing, generating reports, updating models, and disseminating the results to your team.
Many of these tasks can be handled by Python scripts with the click of a button. But what if we take it a step further and set a timer for these Python scripts so they run on autopilot in the background?
Today, I will show you two approaches to schedule Python scripts so you don’t have to lift a finger. One approach uses a tool that you already have on your computer (Task Scheduler), and the other uses a cloud-based solution (GitHub Actions).1
Autonomous Econ aims to empower analysts who work with economic data by equipping them with Python and data science skills.
Posts will largely center on practical guides but will also include data journalism pieces from time to time.
Subscribe and join 2k+ others to work smarter through automation and become a savvier analyst.
Don’t let “techy” people fool you into thinking automation is tricky to pull off. With just some basic Python knowledge, you can use these free tools to boost your productivity (and impress your boss).
By doing so, you can focus your precious time on analysis, making decisions, and adding value more quickly.
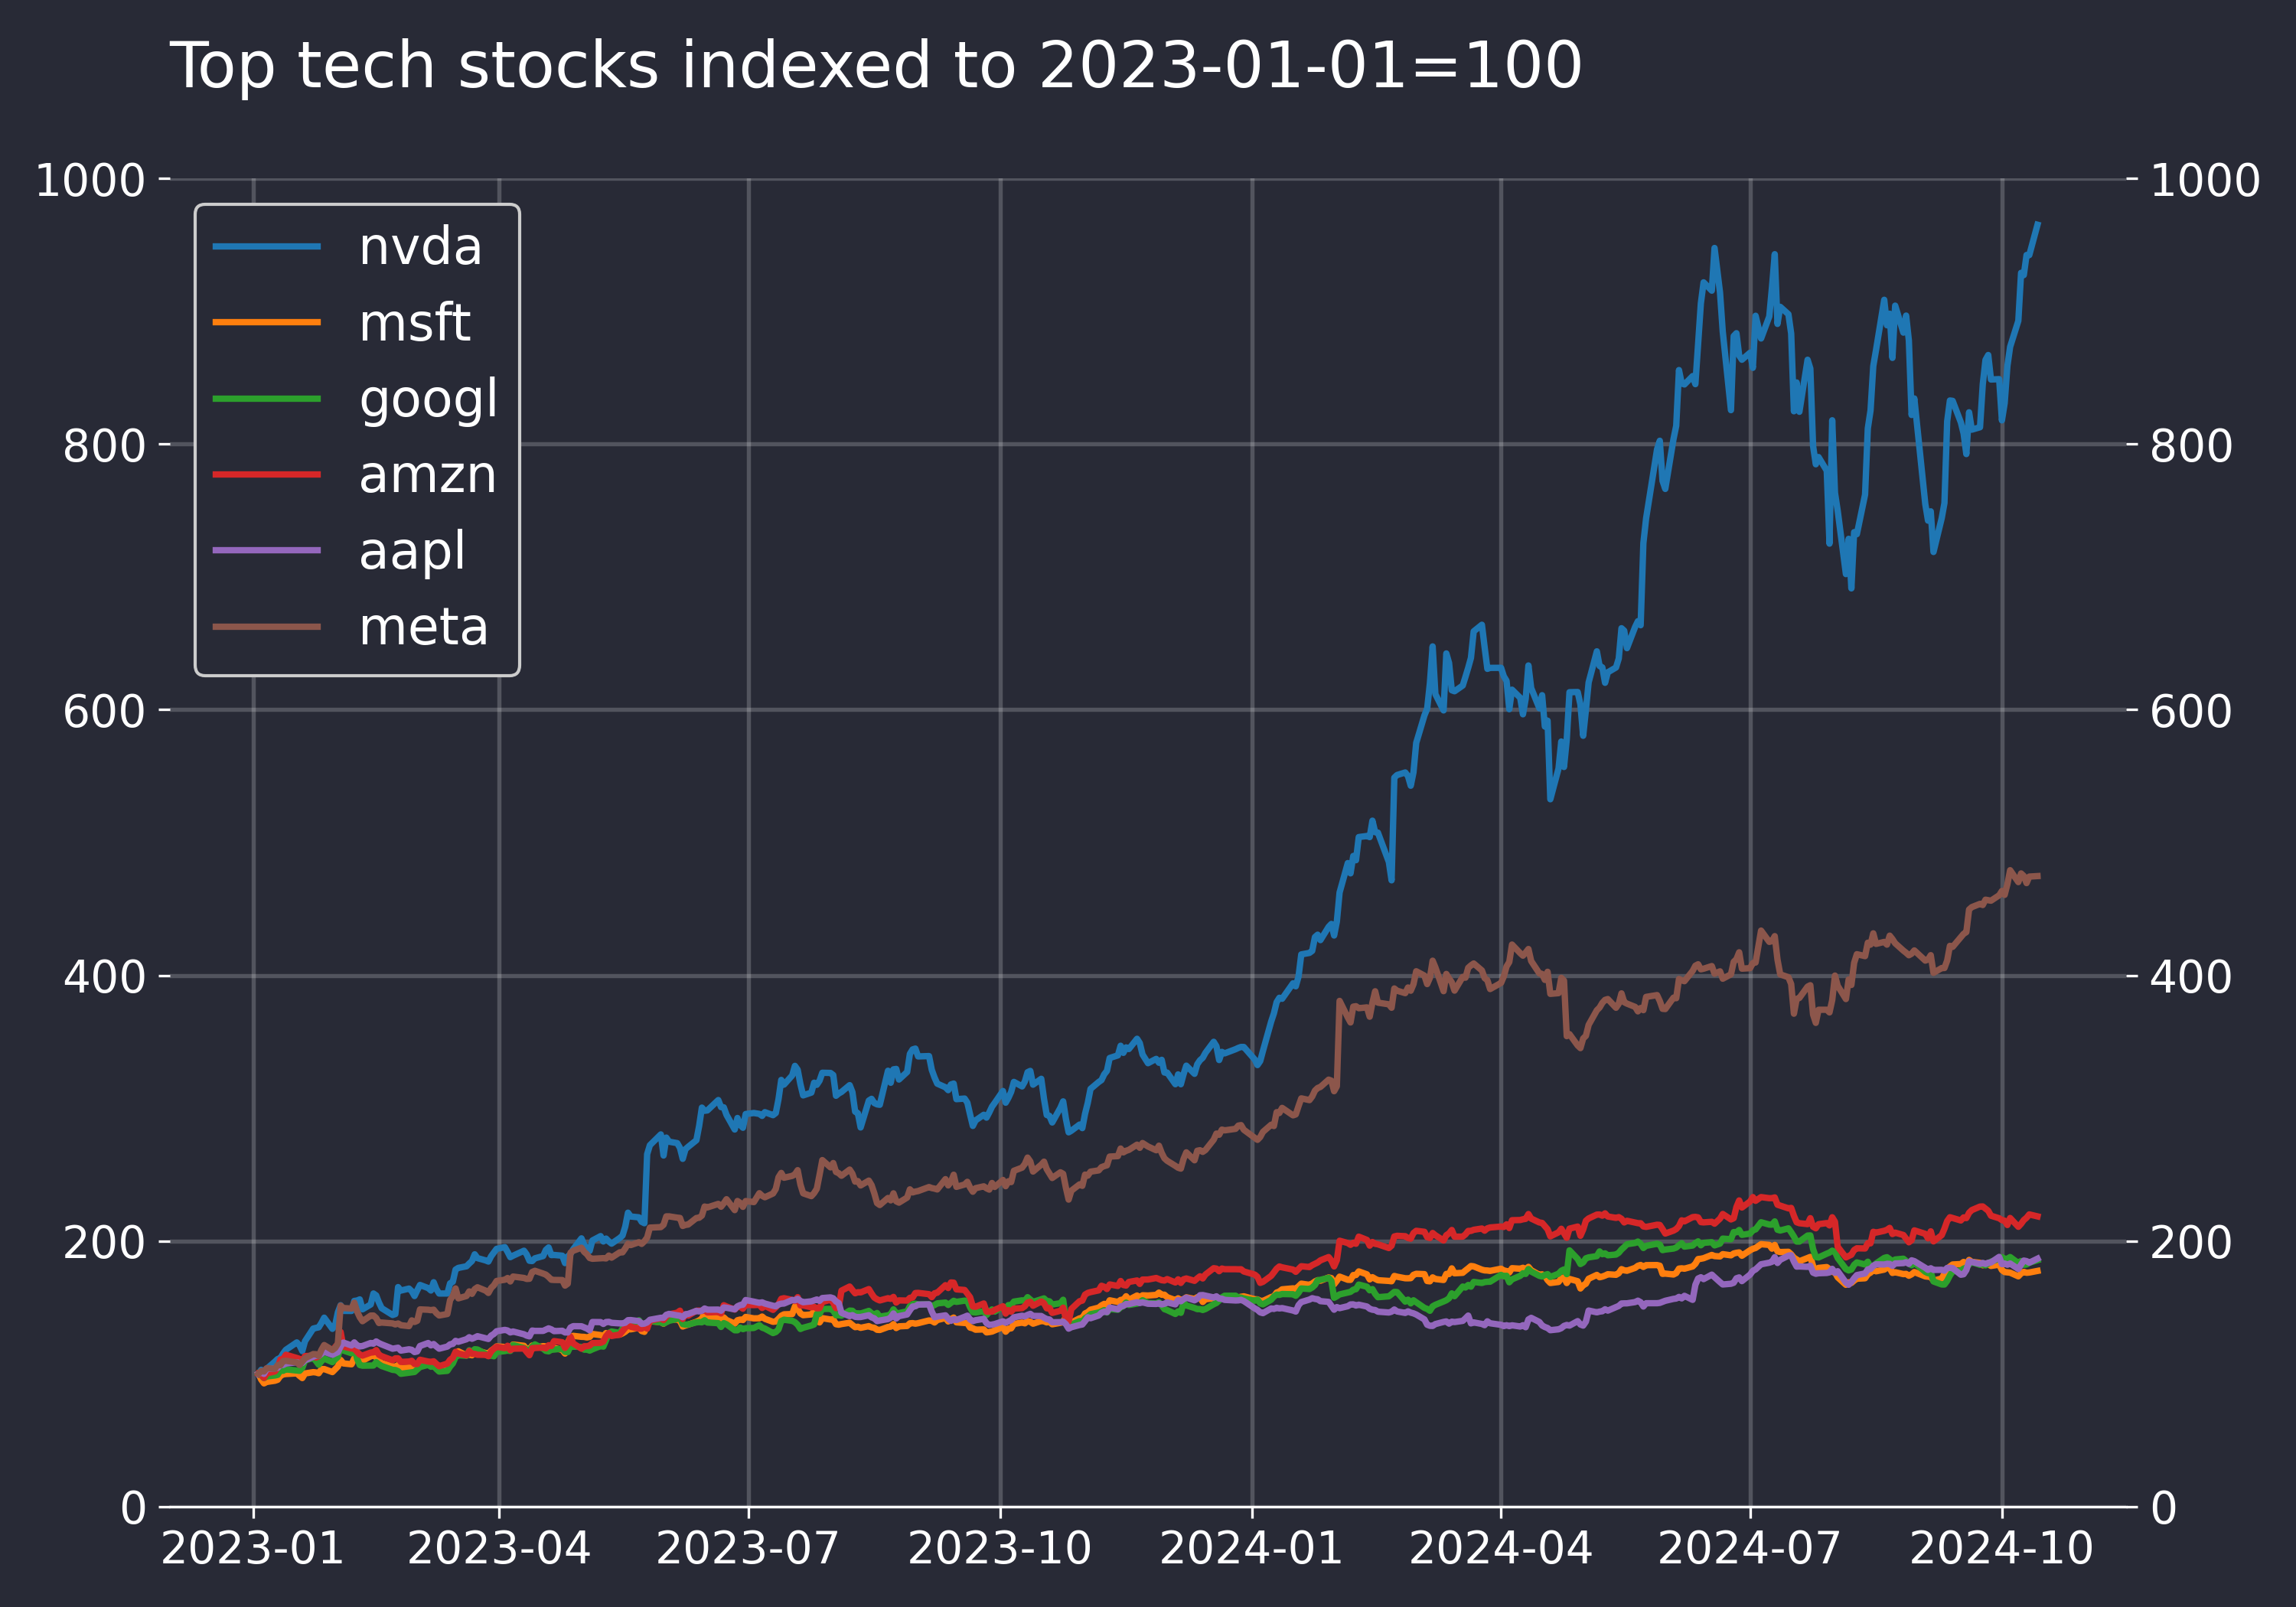
Let’s see how you can set a daily job to query data and update this chart for the prices of top Tech stocks.
Before we start, I highly recommend reading the post below first if you’e unfamiliar with GitHub or virtual environments.

Option 1: Use a built-in task scheduler on your machine
This is the simplest way to get started and is fine for most tasks.
Using Task Scheduler is the easiest way to automate scripts because the tool comes pre-installed on Windows. The equivalent tool on Mac is CRON jobs — I won’t be covering the Mac workflow, but there is a useful guide linked here.
Regardless of the tool, the idea is the same. They essentially let you set an alarm on your computer to wake up and perform tasks, like running a Python script.
All the action happens on your local computer, making it ideal for simple tasks and ensuring privacy.
Step 1: Clone the project from GitHub
I have set up a GitHub repo with all the necessary files for you to follow along. Clone the repo to a folder on your computer.
The main script we want to trigger is generate_report.py, which outlines the steps of retrieving data, plotting it, and then saving a PNG and CSV file with today’s timestamp. It uses a custom plot function called plot_stock_timeseries()— the full details of it are in the repo.

The script makes use of a Python package called ffn, which is really handy for retrieving stock prices. It also has many useful functions for analysis, like rebase() to a starting index and calc_stats() to get a summary of stock performance metrics.
Step 2: Set up the schedule.bat file
Now, we need to create the virtual environment and install the required packages from the requirements.txt file. Again, refer to this post on how to do this.
📜Virtual environments are like kitchen workstations for every project, containing only the things you need and isolated from everything else.
To ensure that we execute generate_report.py inside the virtual environment, we need instructions that tell Task Scheduler to activate it. This is done using a .bat file (batch file), which is essentially a simple text file containing a list of commands that the operating system will run in order.
This schedule.bat file says, “Go to the project directory, activate the virtual environment, and run the task.”

Be sure to update the directory in the schedule.bat file when you try it.
Step 3: Prepare Task Scheduler
Now for the easy part — configuring the task:
In the right pane, click Create Basic Task.
Name the task (e.g., “Daily Python Report”).
For the trigger, choose Daily and set the time it should run.
For the action, choose the
schedule.batfile path in the Program/script field.In the settings, make sure to check ‘Run task as soon as possible after a scheduled start is missed’. To cover scenarios where your PC was off.
The task should now run automatically, and you will see the CSV and plot files populate in the project folder each day.

Option 2: Automate the task in the cloud
A colleague and I once played around with web crawling for petrol prices from local gas stations in our city. At first, we used Task Scheduler, which worked well enough to begin with. However, we hit a snag when we wanted to collect data at hourly intervals because our computer needed to be on 24/7 for the task to run!
We quickly learned that a cloud-based task scheduler was needed. In fact, this is how most tech companies operate their machine learning models end-to-end, using tools like Apache Airflow and Amazon Web Services (AWS).
However, going down this route isn’t easy and is overkill for most solo projects or prototyping. We were able to achieve our goal with AWS, but it was a steep learning curve, not to mention the terrible UI.
This is where GitHub Actions shines. It lets you execute scripts in the cloud with very little additional setup. If you’re working with Python, chances are you already have a GitHub account and are hosting code in GitHub repositories.
Publications like The Economist use it for some of their dashboards too.
Step 1: Create a new GitHub Repo
Create a new repository in GitHub and clone it to a folder on your computer. Copy over the generate_report.py file from the folder you used in Step 1 earlier.
This time, you can skip setting up the virtual environment. We will be creating it in the cloud!
Step 2: Set the GitHub Workflow File
We need to create a YAML file in the correct path that provides the instructions for the workflow in GitHub Actions. A YAML file is just a text file used to organize settings in a simple, easy-to-read format for programs.
Create this YAML file (daily_report.yml) in a directory called: .github\workflows.
The first part of our YAML file describes the schedule using a cron expression. It says, "run at 7 a.m. every day in UTC time." If you want a different schedule, try this cron expression generator.

The rest of the YAML file provides instructions similar to the schedule.bat file for Task Scheduler — i.e., creating the environment with the necessary packages and executing the script.

Step 3: Validate the Workflow
Commit and push the files to GitHub.
In the repository you created, go to the Actions tab, and you will see that the workflow file (Daily Stock Report) is automatically picked up. Validate that it works by clicking on Run workflow on the far right to manually trigger it.

Refresh the page, and you should see the job running. Click on the job, and after a few minutes, you will find a link in Artifacts that lets you download the PNG and CSV files.

From here on out, GitHub will automatically execute the job daily based on the triggers you defined in daily_report.yml.
Which Approach Should You Choose?
Use GitHub Actions if your computer isn’t always on (e.g., you need to scrape data hourly 24/7). It’s perfect for team projects since the project code is available to everyone on GitHub.
Use Task Scheduler (Windows) or Cron Jobs (Mac) if you’re just getting started and want to automate scripts locally on your own machine. No extra setup needed in GitHub.
In future posts, I will explore how we can use these approaches to:
Send a regular email with your data report in the body
Extract data from a website
Update a landing page for your project
Subscribe and stay tuned.
There are no-code solutions like Zapier, but they aren’t as flexible as writing your own Python scripts and aren’t suitable for model prediction workflows.